Hanging drywall is a practical and cost-effective way to transform your space. Let’s dive into the basics of hanging drywall like a pro!
- Materials and Tools:
- Sheets of Drywall – Choose the appropriate thickness based on your project needs.
- Drywall Fasteners (Screws or Nails) – Use 1-1/4-inch screws for attaching drywall to wood framing and 1-5/8-inch screws for attaching drywall to metal framing.
- Drywall Shims & Wood Glue – These are helpful for leveling and securing drywall sheets.
- Fasten Backers at Corners:
- Install wood backing wherever drywall ends have no support within four inches. Pay attention to corners and ceiling/wall joints.
- Install wood backing wherever drywall ends have no support within four inches. Pay attention to corners and ceiling/wall joints.
- Measure Carefully:
- Measure from the end of the ceiling to the middle of a joist and cut the sheet to length.
- Mark fastening guidelines every 16 inches from the end of the sheet using a drywall square.
- Cut overall lengths 1/4-inch shorter for easier fitting.
- Selecting Drywall:
- Most drywalling calls for three basic types of drywall material:
- Half-inch – Suitable for framing spans of 16 inches or less.
- Five-eighths-inch (Type X) – Used for spans up to 24 inches on ceilings and in areas where fire resistance is required.
- Half-inch water-resistant – Ideal for humid areas like bathrooms.
- Most drywalling calls for three basic types of drywall material:
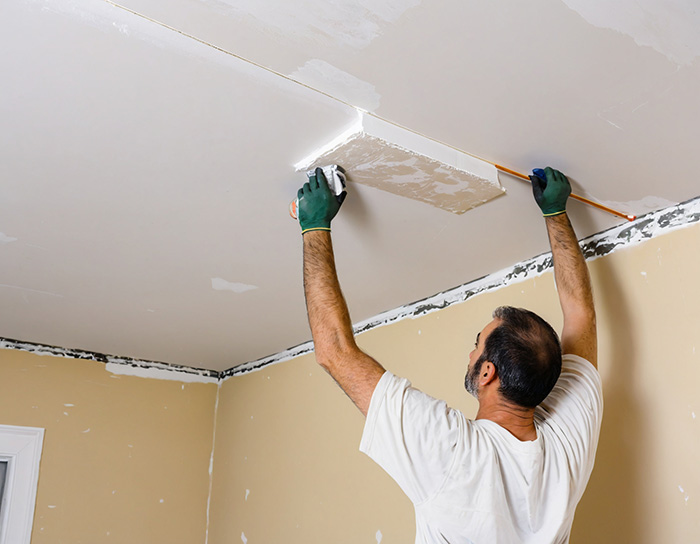
Poor drywall hanging techniques can lead to difficulties during taping and finishing. A well-hung drywall ensures a smooth surface ready for paint. Happy remodeling!